|
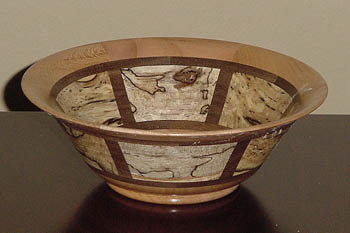
Design I begin by sketching the bowl profile on grid paper. I also decide at this point which woods to use, the thickness of each layer, and how many segments I want the pattern to be based on. |
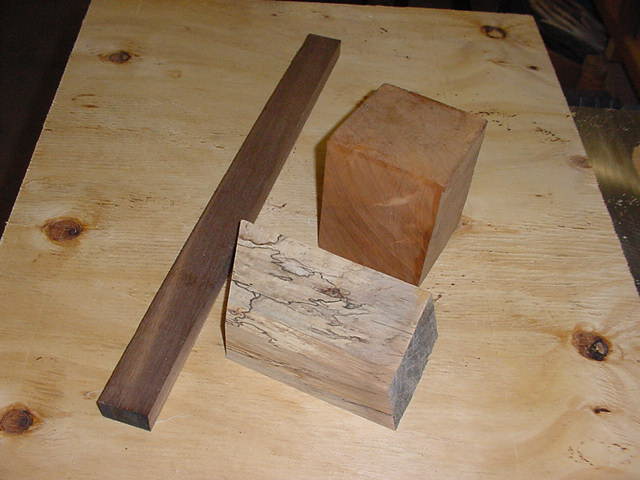 |
Materials I then try to see if I actually have enough of each type of wood to finish the job. This time it was easy since this will be a small bowl. These are some scraps that I had laying around the shop waiting for a project like this one. (Walnut, cherry, and spalted pecan) |
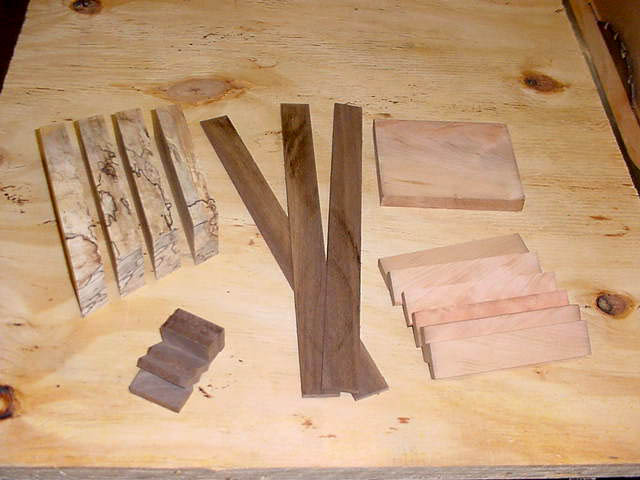 |
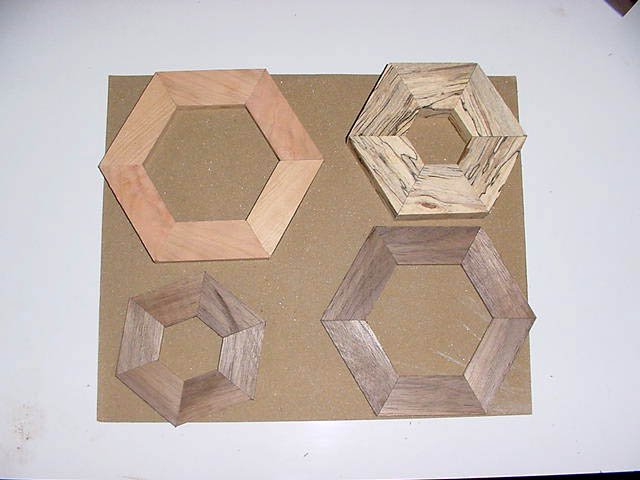
Preparing the Stock I rip the stock to the thickness that I'll need for each layer. The square piece at the upper right will be the bottom layer which will be solid. The small pieces at the lower left will be inserted between the segments of the middle layer. (We'll get to that part later.) |
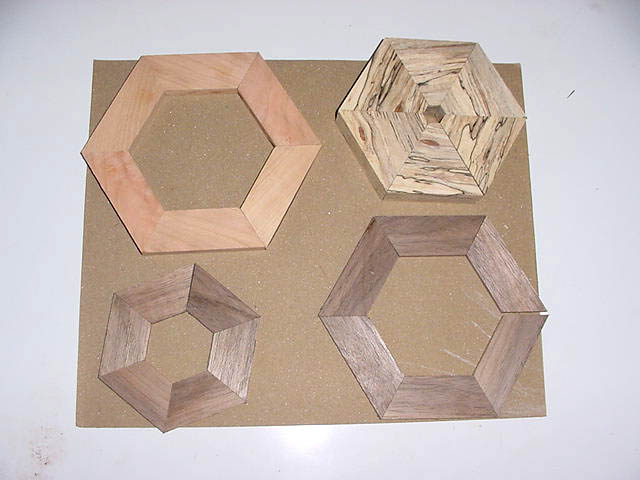 |
Cutting & Fitting the Segments I failed to take a picture before I arranged the segments, but the segments were just cut with a miter saw. This picture shows the cut segments dry-fitted on a sheet of sandpaper. This way I can determine how much sanding I have to do to get a perfect fit. A slight touch up on the disk sander on selected segments will get perfect joints. |
 |
Getting the Perfect Fit Here are the segments arranged again after sanding to get the joints fitting perfectly. Also, the segments in the ring on the upper right was cut too thick to make better use of the scrap block it was cut from. I then ripped them down afterwards to get closer to my design. This saves a lot of roughing out when the blank gets to the lathe. |
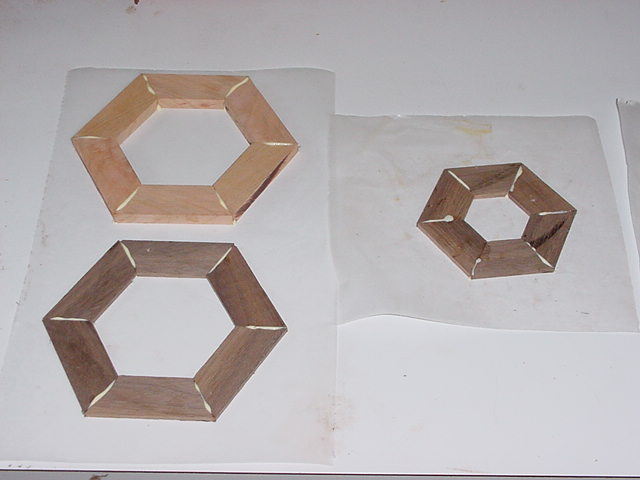 |
Gluing the Segments Here some of the segments have been glued into rings and are waiting to dry. With thin segments I just use hand pressure to press the segments together. |
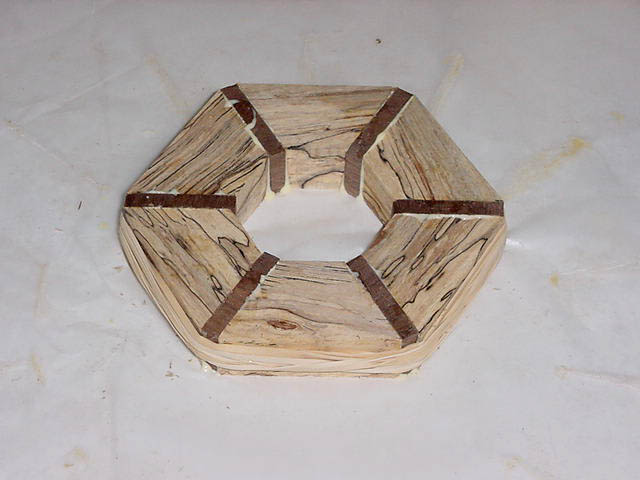 |
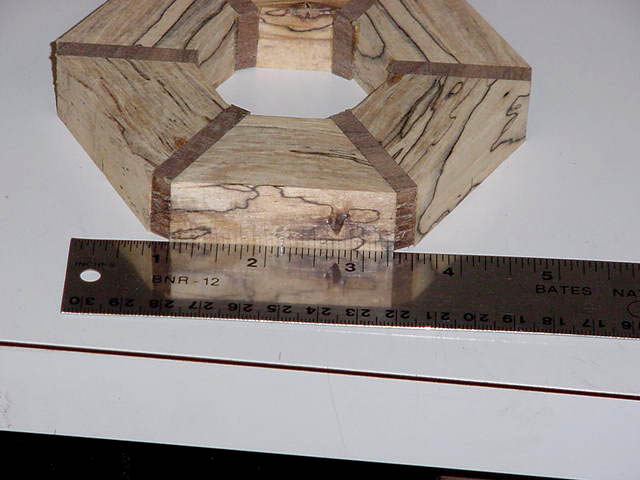
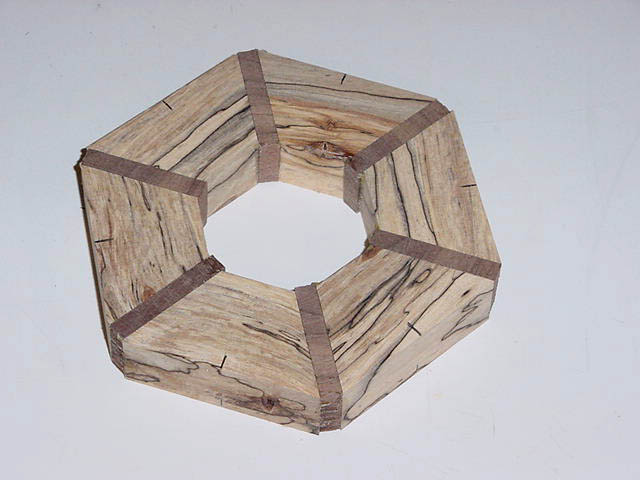
Gluing Larger Segments Here is the middle layer with the straight pieces glued between the mitered segments. Since it is large enough to clamp I use a lot of cheap rubber bands to clamp the ring. On even larger rings I sometimes use a band clamp. |
 |
Flattening the Layers I use a belt sander to flatten each side of the layers. This gives perfect surfaces in order to glue the layers together. There are many different ways this step can be done, this is just how I do it. I hold the piece down on the sander with light pressure with my left hand and keep rotating it with my right hand until it is perfectly smooth. Buy me a drum sander and I'll put it to good use. |
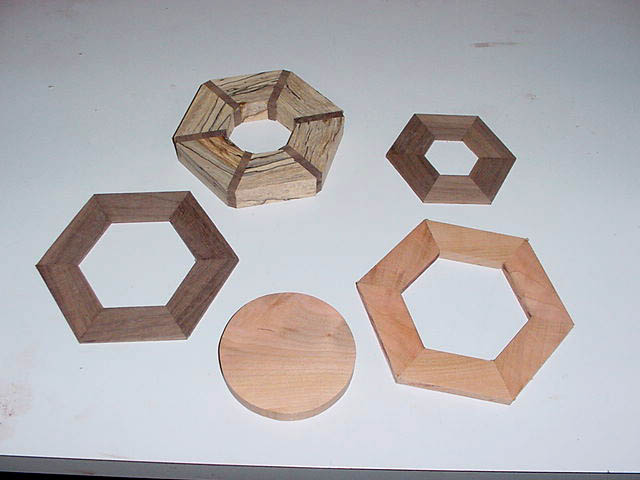 |
Ready for More Gluing Here are the layers after they have all been sanded smooth on both sides. Notice that I cut out a disc for the bottom layer, it was also sanded smooth on the belt sander. |
 |
Marking the Rings I decided to start with the middle layer. Here I measured and marked the center of each segment for reference points. This will help to get the rings centered while gluing. |
 |
The lighter colored wood shows the marks very well. Here the marks were extended to the upper surface (which will be toward the bottom on the finished bowl) as well as the sides. |
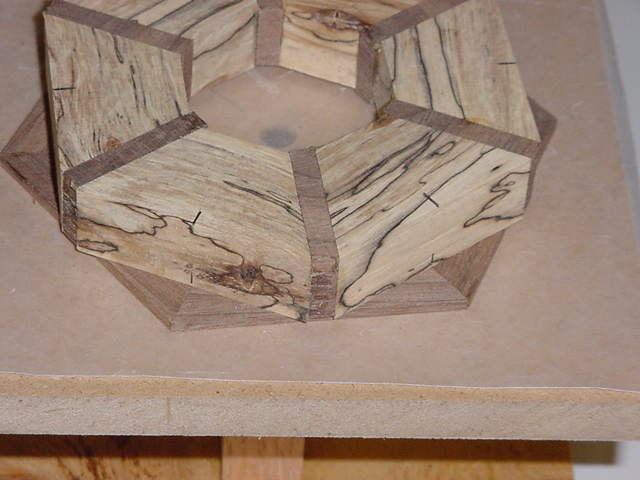 |
Checking the Match The marks on the sides should line up with the joints of the next layer. This centers the layers (unless you had to do an excessive amount of sanding to get the joints to fit in the ring), and it also separates the joints making them less likely to fail under stress. Also, notice that the grain in the straight walnut segments of the middle layer lines up with the grain of the adjacent layer. This makes the joint between them less visible and the reflection of light will be nearly the same so you don't readily notice that they are different pieces. |
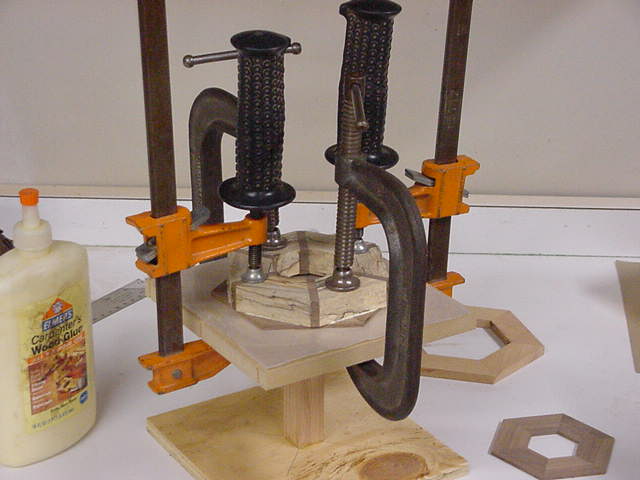 |
Gluing the First Layers Here are the first two layers glued and clamped. I usually let them cure for about 30 minutes before I go to the next layer. |
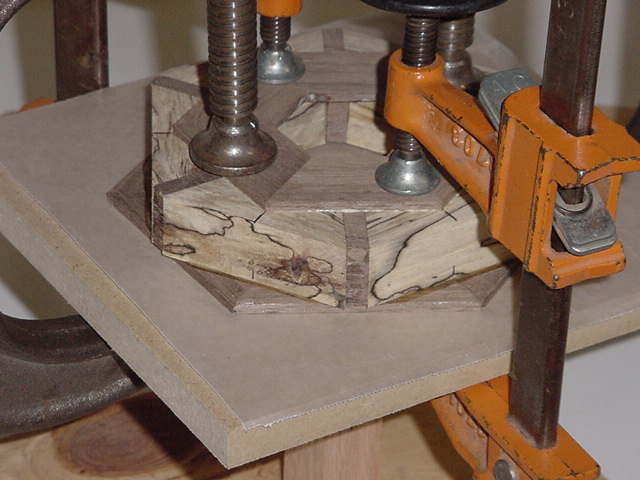 |
Gluing the Next Layer The next layer is glued lining up the joints with the other marks on the middle segment. |
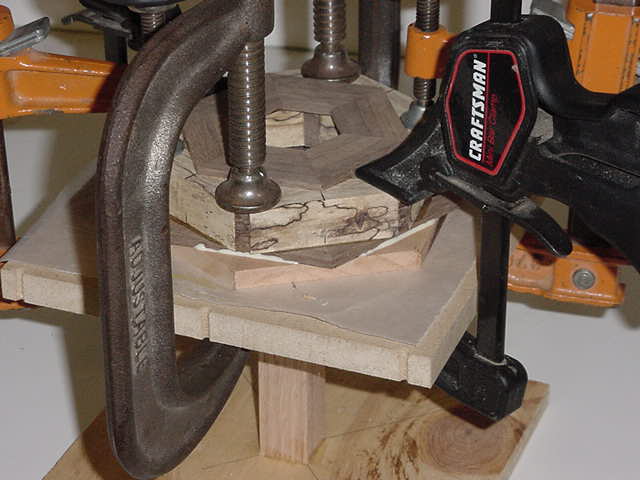 |
Gluing the Top Layer The top layer (on bottom) is glued lining up the joints with the segments of the middle layer. |
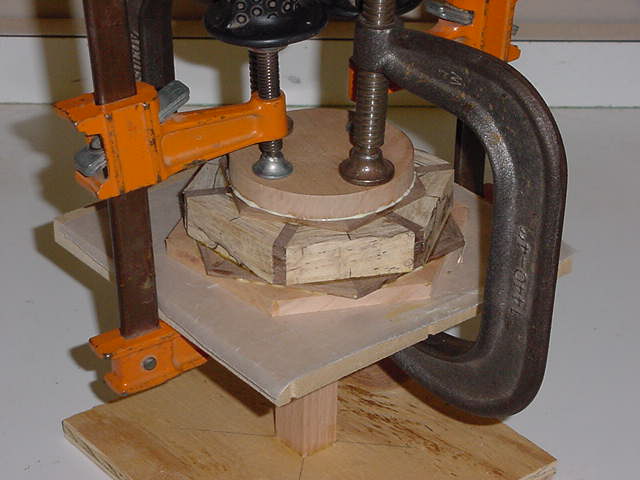 |
Gluing on the Solid Bottom The solid disc is glued using the adjacent layer for centering. If the disc had been significantly smaller than the next layer then marks would have to be made to get the centering correct. |
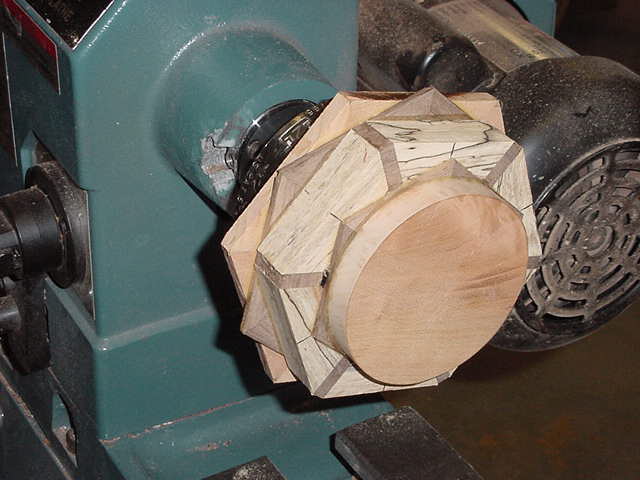 |
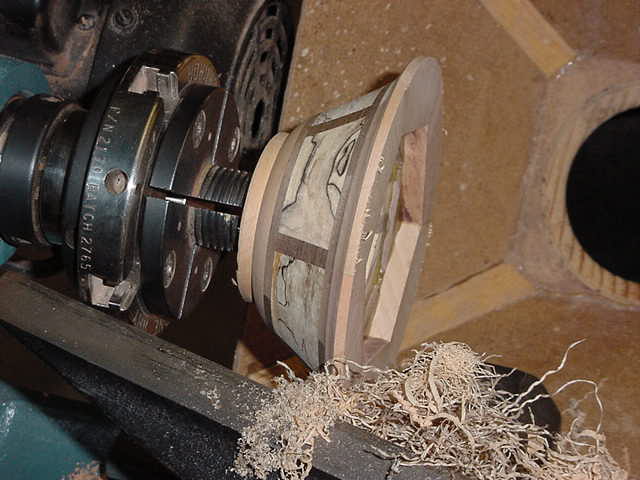
Mounting the Blank Now, finally I have a blank to work with. Next comes the fun part. I mounted the blank on the chuck expanding the jaws in the interior. For larger bowls I would temporarily glue the top layer to a scrap block mounted on a faceplate. Before I got the chuck I glued a scrap block to the bottom of the blank with a paper joint and screwed it to a faceplate. |
 |
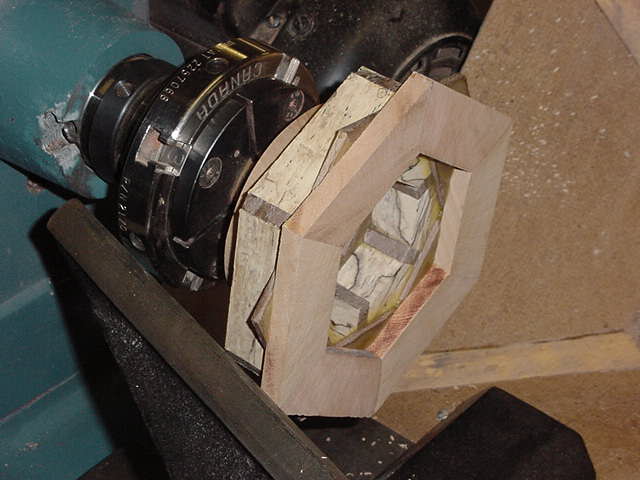
Turning a Recess for the Chuck I could have also gone ahead and shaped the outside of the bowl at this point, but I wasn't comfortable with the chuck security. (It's a 4 jaw chuck holding a 6 sided piece.) |
 |
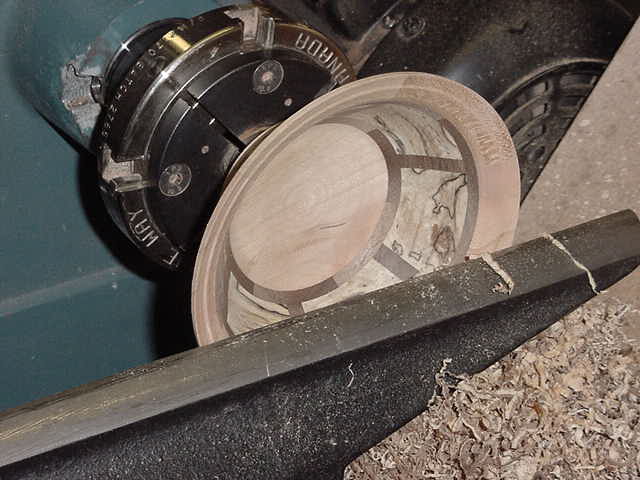
Re-mounting the Blank Here I am using spiggot jaws in the chuck to hold the blank in the recess I just made. |
 |
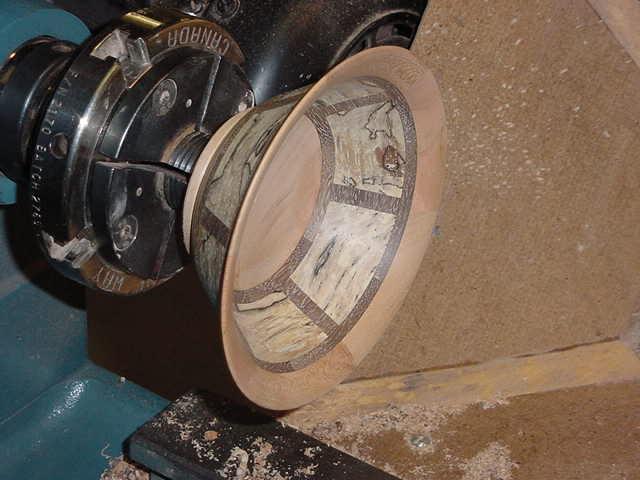
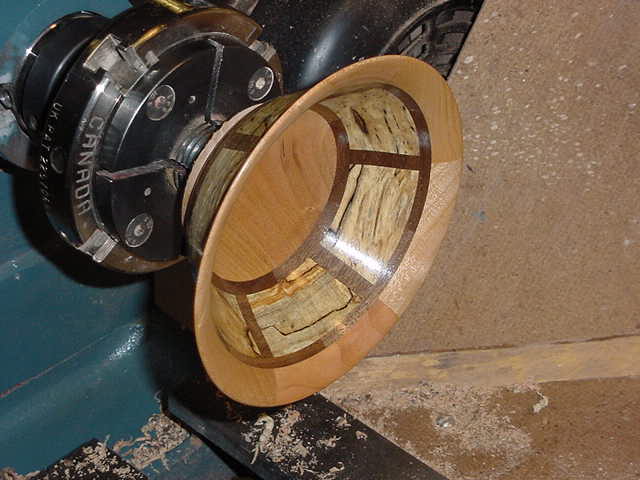
Turning the Outside Here the outside is turned. Not necessarily an exact match to the original design but close, and I like it. |
 |
Turning the Inside I turned the inside to match the outside with about 1/8 inch of thickness and tapering thinner toward the rim. |
 |
Sanding Here the inside and outside are sanded to 220 grit. I would have gone finer, but I was out of 320 grit. It still looked pretty good like it was. |
 |
Finishing I applied a coat of friction polish to the bowl as it was spinning. This is not my favorite finish, but it looks pretty nice and is very quick. Other finishes have to be applied after the bowl is completed. |
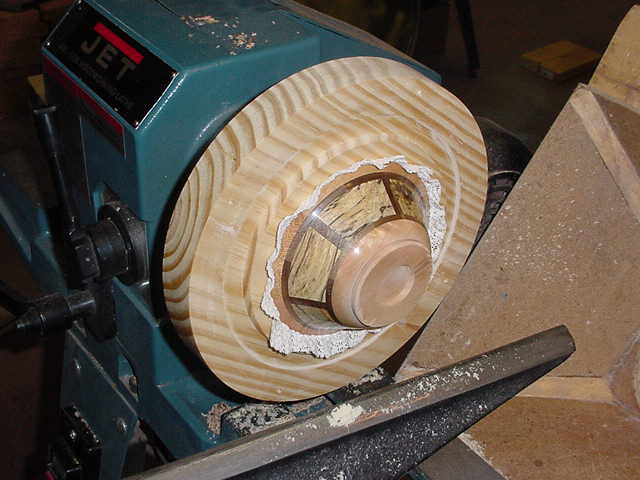 |
Turning the Base I made a jam chuck to hold the bowl in order to turn the base. This chuck has been used before and will be used several more times before it is discarded. I used a piece of rubber drawer liner to hold the bowl in the recess. This was the first time I used it, and it worked great. It's really cheap too. A paper towel will also work. |
 |
Finishing the Base After turning and sanding the base I applied a coat of friction polish to it. Now the bowl is finished. |